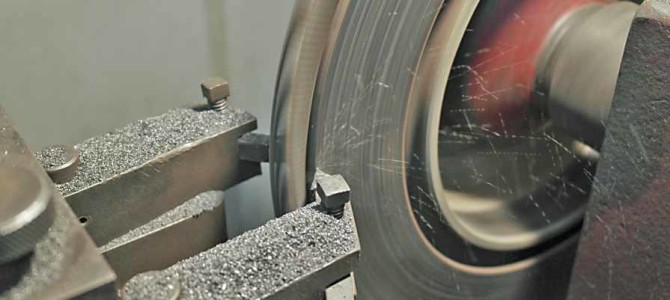
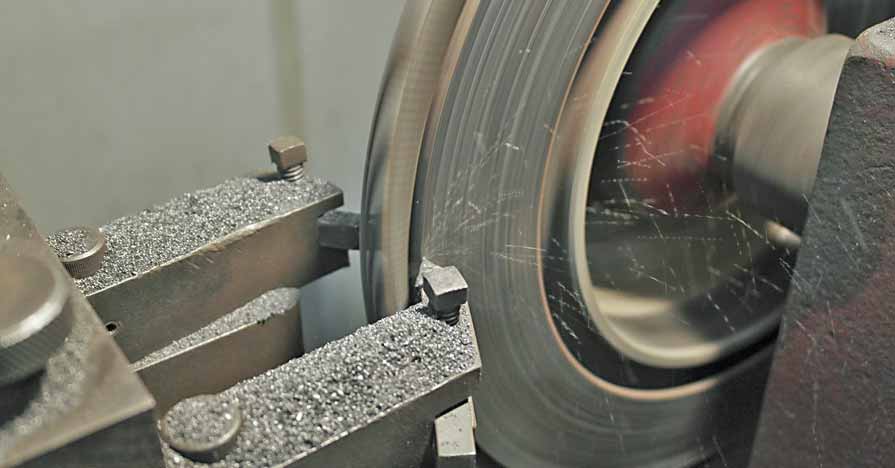
In the day of remove and replace vehicle maintenance, turning rotors and flywheels has become a forgotten option. Sometimes, replacement is the only solution, but basic service and maintenance of brakes and clutches can increase their service life by having your slightly worn rotors or flywheel turned. Turning is a term used to describe the process in which a rotor is spun on a machine and mechanical arm with a cutting tool clears away the rough scrapes from the surface, leaving a smooth usable surface for brake pads and clutches to hold on to. Depending on your local NAPA Auto Parts store or NAPA AutoCare, these machines may still be available for turning customer’s parts.
It can happen to anyone, put off a brake job fore even a week and you can end up with pads that look like this. You are guaranteed to have a severely damaged rotor if your pads look like this.
There are limits to what turning can fix. We recently had an issue with an SUV where a rear rotor had been eaten up by a bad brake pad. The outside pad was good, but the inside pad was not, and it damaged the rotor. Instead of buying a new rotor, we were able to save it by turning. Most rotors and flywheels have minimum thickness measurements cast into the hub. This is the minimum usable thickness, if the wear is too severe, turning will not work and the part must be replaced.
We took our rotor to the local NAPA AUTO PARTS store where they measured the rotor to determine if it would be acceptable. Our rotor was within the limit, so they bolted it to the machine, which is essentially a single-task lathe.
The minimum thickness is cast into the rotor hub. If there is no number here, the rotor is considered not turnable.
Our rotor was bolted to the lathe for turning. The spring around the rotor is to keep any debris from slinging out.
The lathe turns the rotor, and the cutter made several passes to clean up the inside surface. The outer side was not touched.
The lathe spins the rotor and a pair of cutters slowly remove the damaged metal.
You can see that the inside half of the rotor is worn more than the outside.
The first couple of passes do not show much in the way of results, the rotor is still very rough.
As the cutter travels back to the starting position, you can see the smooth surface returning.
Once the surface is smooth, the technician uses a surface prep tool on the spinning rotor to ensure there are no residual high spots.
The surface prep job eliminates hot spots that can lead to warping.
Once the machine work was finished, the NAPA expert used a buffing pad on a die grinder to polish off the surface. This eliminates the uniform cut, providing a better surface for the brake pads, eliminating any potential for hot spots.
Many professionals recommend having your rotors turned with every brake job, and some do not. It is an option for your car when the surface is still smooth, but when you have any damage to the surface, it should be performed, and is required if there are scores or gouges in the surface. It is always better to be safe than sorry. Keep in mind that some manufacturers do not provide turning specs for their rotors because they do not recommend turning. If your rotor does not have these specs, you need to replace worn rotors outright.
Check out all the brake products available on NAPA Online or trust one of our 16,000 NAPA AutoCare locations for routine maintenance and repairs. For more information on rotor and flywheel turning, chat with a knowledgeable expert at your local NAPA AUTO PARTS store.
The post Know-How Notes: All About Flywheel and Brake Rotor Turning appeared first on NAPA Know How Blog.
Source: NAPA Know How


